Cold lunch basics
How to Keep School Lunches Cold Until Lunchtime
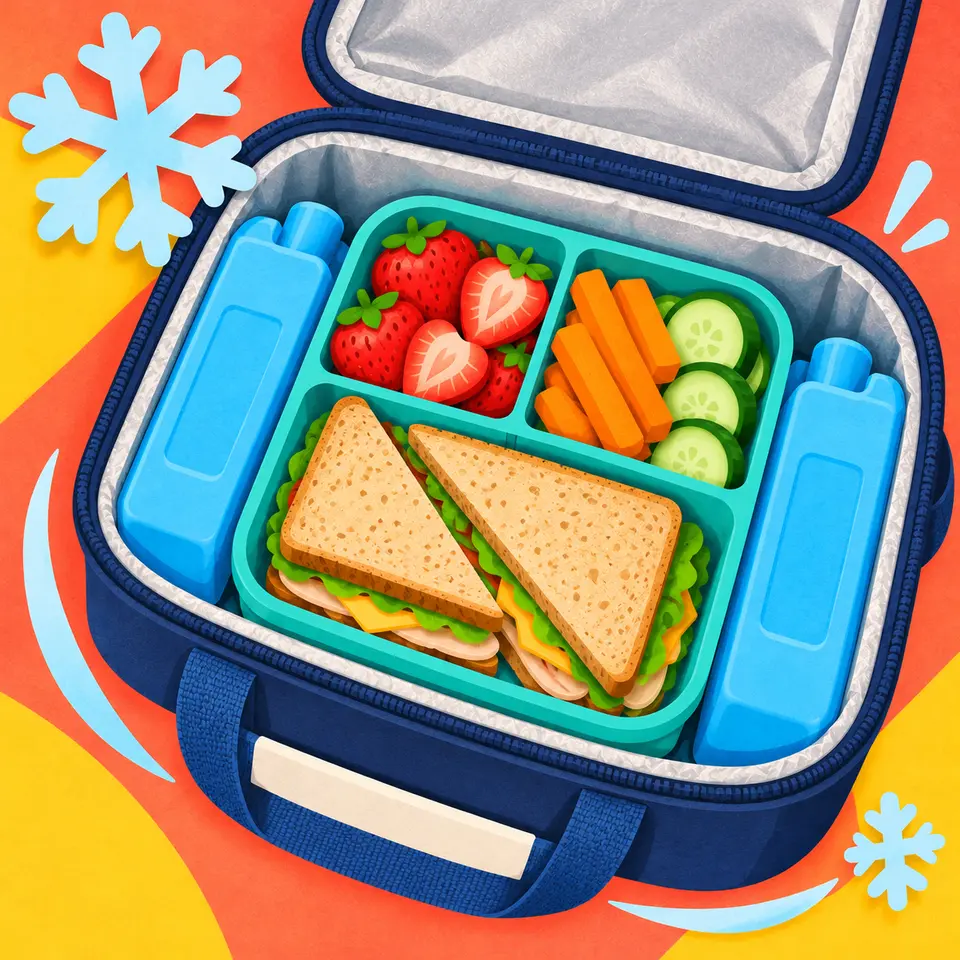
A cold lunch starts before you zip the bag. Pack food straight from the refrigerator into an insulated lunch bag with at least two cold sources, one above and one below the perishables. That's the setup in USDA's school-lunch guidance—and a useful routine to make familiar.
The bag, the amount of food, and where it spends the morning all matter. There isn't one ice-pack size that guarantees every lunch will stay cold until noon.
Start with the bag and the cold sources
Use an insulated lunch bag or box with enough room for the food and the cold sources. Skip the paper bag: USDA notes that paper bags can tear and leak as cold items thaw. Choose a closure your child can manage, and check that the bag still shuts once everything is inside.
Frozen gel packs are one option. A frozen water bottle or frozen juice box can also count as a cold source. Follow the container's freezing directions; don't assume every bottle is made to go in the freezer.
A frozen drink may not thaw enough to drink by lunch, so pack a separate drink if that matters to your child.
Pack the cold where it helps
Think of the perishable foods as the middle of the sandwich:
- Put one cold source at the bottom of the insulated bag.
- Add the chilled sandwich, yogurt, cheese, or other perishable foods in closed containers.
- Put the second cold source above them.
- Add dry foods in their own containers or sealed bags so condensation doesn't reach them.
- Close the lunch bag and keep it out of direct sun and hot vehicles.
Give everything a container so a loose napkin or spilled yogurt doesn't become another morning job, and clean and dry the bag regularly.
Keep the cold parts refrigerated until you leave
Preparing lunch the night before is fine; leaving it beside the backpack all night isn't. Keep perishables in the refrigerator, then add them and the frozen cold sources when it's time to go. Our night-before packing guide separates the evening jobs from the morning finish.
Cold perishable food should stay at 40°F or below. An insulated bag slows warming; it doesn't refrigerate food on its own.
A spare set of frozen packs is handy. That way, finding yesterday's packs in yesterday's bag doesn't leave you without cold sources.
What about a hot day or a field trip?
Check where the lunch will be stored and whether refrigeration is available. When you cannot maintain a cold lunch, choose foods that are genuinely shelf-stable until opened, such as whole fruit and crackers, following each package's storage instructions. A sealed package does not automatically mean shelf-stable.
Perishable food left out of temperature control for more than two hours should be discarded; that limit drops to one hour when the surrounding temperature is above 90°F. Extra ice does not extend those limits once the food is no longer being held safely cold. FDA's time-and-temperature guidance
Decide what can come home
Don't save a half-eaten yogurt or meat sandwich for later unless you know it stayed safely cold. When its temperature history is uncertain, discard it rather than rely on how it looks or feels.
At home, empty the bag, wash the containers, and return reusable cold packs to the freezer. Unopened shelf-stable items can be handled according to their labels; they are not the same as perishable leftovers.
A cold-lunch checklist
- □ Clean insulated bag with room to close
- □ Food kept refrigerated until packing
- □ At least two frozen cold sources, above and below perishables
- □ Dry foods protected from moisture
- □ A storage plan that avoids heat
- □ A plan to discard perishables whose safe storage is uncertain
Know what you're gathering
Lunch Crew lets your children choose ahead from foods you've made available, then gives you a daily packing list. It can help you see what's on the menu before opening the fridge. Keeping those foods at the right temperature is still part of the packing job.
Sources and review notes
Prepared by Lunch Crew. Source review: October 27, 2026.