Get organized
How to Set Up a Lunch Packing Station at Home
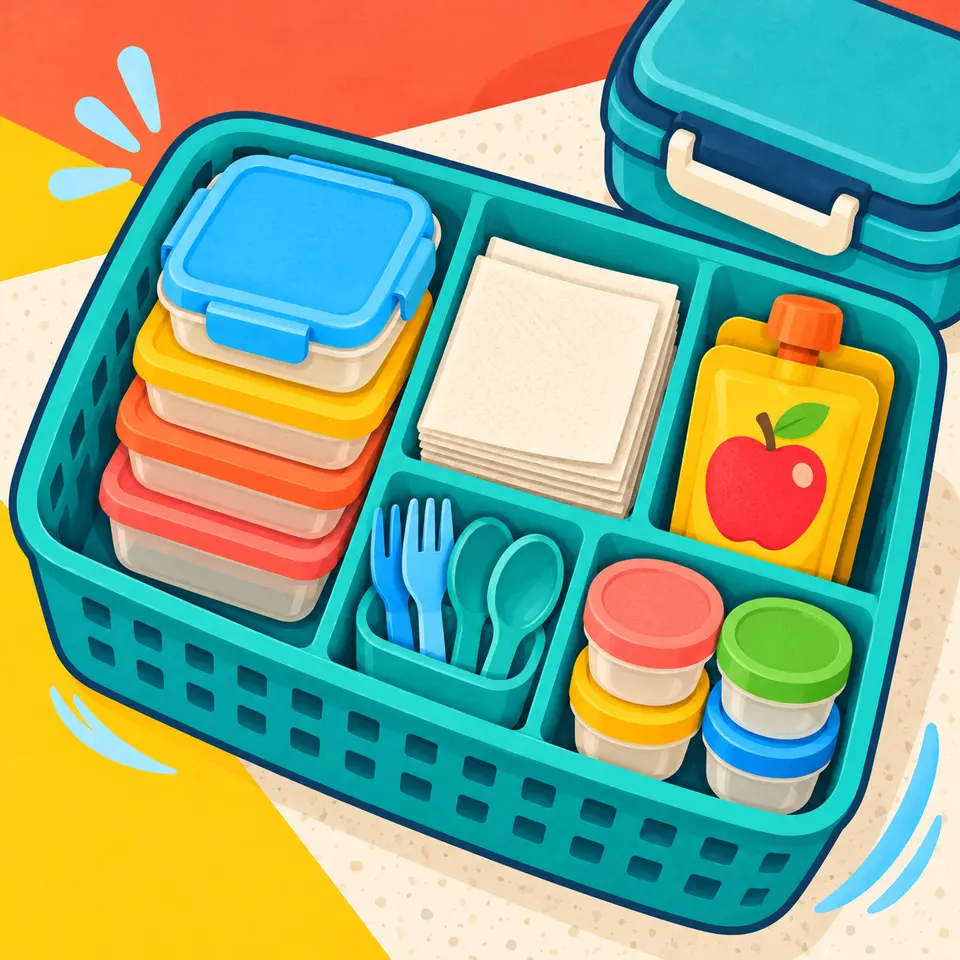
A lunch packing station doesn't need to look like a pantry makeover. Give shelf-stable foods a basket, cold foods a spot in the refrigerator, and containers a drawer with their lids.
Keep the cold packs in the freezer. That's a workable starting setup, and you can adjust it once you see what your family actually reaches for.
What goes where
“Together” means easy to find—not all sitting on the counter.
Scroll sideways to read the table.
| Spot | Put here | Keep out |
|---|---|---|
| Pantry basket or shelf | Foods labeled for room-temperature storage, such as crackers and unopened shelf-stable pouches | Foods that need refrigeration, even if individually wrapped |
| Refrigerator bin or shelf | Yogurt, cheese, prepared cold items, and perishable produce | Raw meat stored where it could leak onto ready-to-eat food |
| Supply drawer | Clean bags, containers, lids, utensils, and napkins | Damp, unwashed containers |
| Freezer spot | Frozen cold packs and appropriately stored make-ahead foods | Packs left warm in yesterday's lunch bag |
Keep the refrigerator at 40°F or below, and separate ready-to-eat foods from raw meat, poultry, and seafood. Follow the product's storage instructions rather than assuming a sealed package belongs in the pantry. FDA food-storage guidance
Start with the pantry basket
Choose one shelf, bin, or basket for the shelf-stable foods you regularly pack. It might hold crackers, pretzels, applesauce pouches, fruit cups, or suitable drinks. Check the labels, including any “refrigerate after opening” direction.
Portioning from a larger package is optional. If it helps your routine, fill a few clean containers when you have time. If grabbing the original package works better, the station doesn't need to look a particular way.
Keep ingredient labels available when dividing packaged foods, especially when allergies are part of the household's packing routine. A familiar bin isn't a replacement for checking the food you buy.
Give ready-to-pack cold foods a home
One refrigerator shelf may be enough; you don't need another container if it makes things harder to reach.
Group the cold items you expect to use soon. Keep prepared foods covered and label leftovers with their preparation date. Rotate older items forward, but follow guidance for the specific food—cut produce, deli meat, and cooked leftovers do not all share one storage deadline.
For example, Nebraska Extension recommends using refrigerated leftovers within three to four days. That is a leftover-food rule, not a blanket limit for everything in the bin. Freezer items need their own labels and plan; see freezer-friendly school lunches.
Put supplies where you pack
Keep the everyday items together: matching containers and lids, insulated bags, utensils, napkins, and wraps. Give water bottles a regular home, too.
Try opening the drawer while standing where you normally assemble lunch. Can you reach what you need without moving three other things? That is a better test than whether the drawer looks finished.
Set aside damaged containers and mystery lids for a separate sort-out. They don't need to stay in the daily packing space.
Make it useful for the child who helps
Place suitable foods and supplies within reach. A picture label can help a younger child find the snack basket or the utensil drawer.
Give a specific job: “Get your container and a spoon,” or “Choose one of these two sides.” Keep cutting, reheating, and other jobs that need adult help outside the self-serve routine. The kids-packing guide builds on this one task at a time.
When allergies are involved, use clear separation and appropriate cleaning—not color coding alone. Follow the household's allergy plan and cross-contact guidance.
Keep the setup small enough to maintain
Before shopping, check what is low using your lunch grocery list. Clean spills, check dated foods, and remove items that no longer belong in the rotation.
If something keeps going untouched, ask about it before stocking up again. It may be the flavor, the container, or simply a food your child wants a break from.
Your starter checklist
- □ One pantry spot for shelf-stable lunch foods
- □ One refrigerator spot for ready-to-pack cold items
- □ Containers and matching lids stored together
- □ Utensils and napkins within reach
- □ Cold packs together in the freezer
- □ A place to note what needs restocking
Match the supplies to the plan
A station tells you where things live. A lunch plan tells you what to take out. Lunch Crew's daily packing lists help keep those choices together so whoever is packing can work from the same plan.
Sources and review notes
Prepared by Lunch Crew. Source review: October 27, 2026.